Some of the most common reasons behind Windows Update failing with the above error code are:
Generic glitch – This issue is quite common on Windows 7 endpoint machines, and Microsoft already has a selection of built-in repair strategies that are ready to be deployed. If this scenario is applicable, you can attempt to fix the problem by running the built-in Windows Update troubleshooter and applying the fix that will get automatically recommended.Corrupted File in the WU temp folders – Another scenario in which this error will occur is a corrupted temp file located in the SofwareDistribution or Catroot2folders. This might occur after a botched update or after an AV scan that ended up quarantining some items related to the Windows Update component. In this case, you can fix the issue by running a series of commands capable of resetting every WU component including the two temp folders.The machine cannot be updated conventionally – Under certain circumstances, the WU component might not work automatically. If the WU function is blocked at a system level, you can most likely fix the issue and bring your OS to build up to date by using the System Update Readiness tool to install the updates that are failing to install conventionally.Disabled Detection Frequency policy – If you’re encountering the issue on a Windows Server edition, it’s most likely due to the fact that one of the clients has exceeded the number of trips allowed by default to the WSUS server. To fix this issue in this case, you will need to use the Local Group Policy editor to enable the Automatic Update detection policy and set a global updating interval for all the involved machines.System File Corruption – If the Windows Update troubleshooter isn’t able to fix the issue automatically, chances are the affected system is suffering from an underlying corruption issue that cannot be resolved conventionally. In this case, you can fix the issue by refreshing every Windows component with a procedure like a Clean install or Repair install (in-place repair).
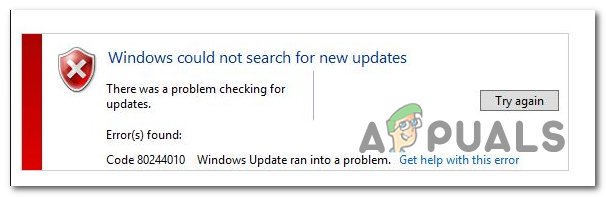
Methods to Troubleshoot the Windows Update Error Code 80244010
1. Run the Windows Update troubleshooter
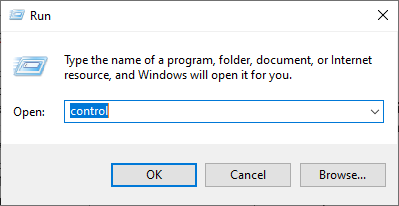
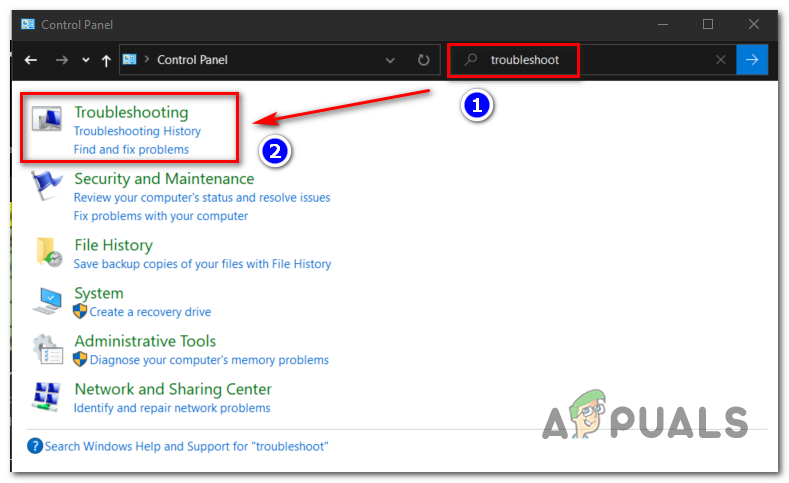
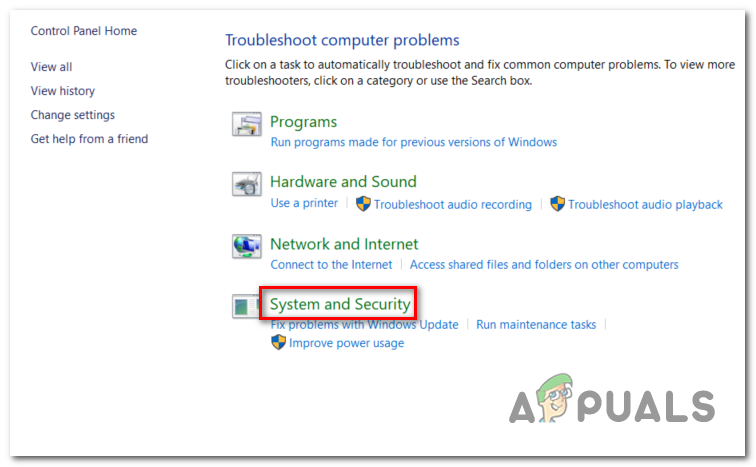
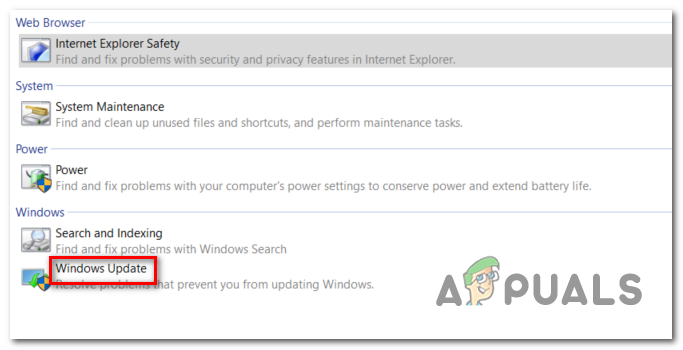
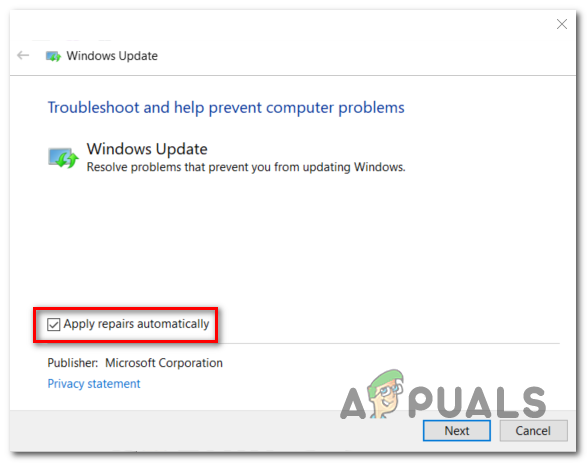
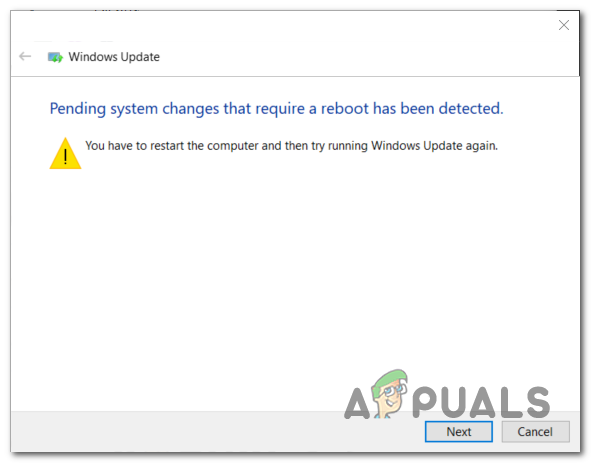
If you’re encountering this issue on an end-user version of Windows 7, there’s a chance that the culprit causing the problem is already covered by a Microsoft-deployed repair strategy. Several affected users that also struggled to resolve this issue have confirmed that running the Windows Update troubleshooter allowed them to fix the issue automatically. This built-in utility holds a collection of automated repair strategies that will fix a wide variety of Windows Update errors. This tool will start by looking for any inconsistencies, then deploy the appropriate fix automatically if the problem is already covered by a repair strategy. Here’s a quick guide on how to launch the Windows Update troubleshooter on Windows 7 in order to fix the 80244010 error: If you’re still encountering the same Windows Update 80244010 error when you attempt to use the WU function, move down to the next potential fix below.
2. Reset WU components
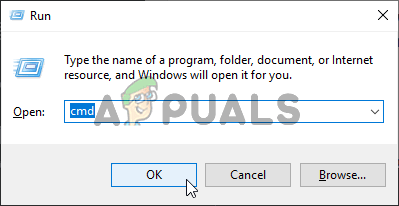
Another potential cause that might end up triggering the Windows Update 80244010 error is a network inconsistency. In most cases, the problem will be facilitated by a glitched WU component or by a corrupted temporary file located in the SofwareDistribution or Catroot2 folders. If this scenario is applicable, you can fix the issue swiftly by resetting all WU (Windows Update) components and dependencies involved in this process. There are several different users that confirmed this operation as being the successful fix that allowed them to eliminate the error. Here’s a quick guide on doing this: In case the issue is still not resolved, move down to the next potential fix below.
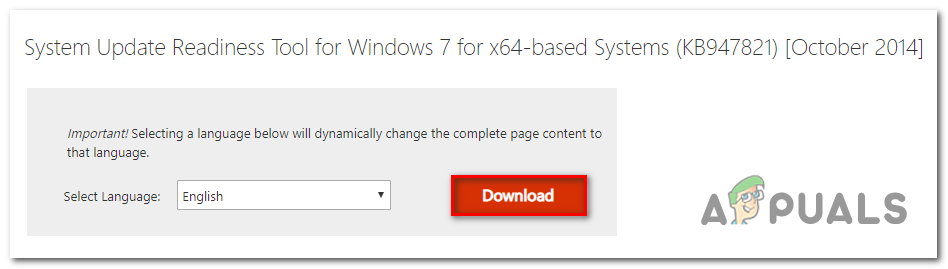
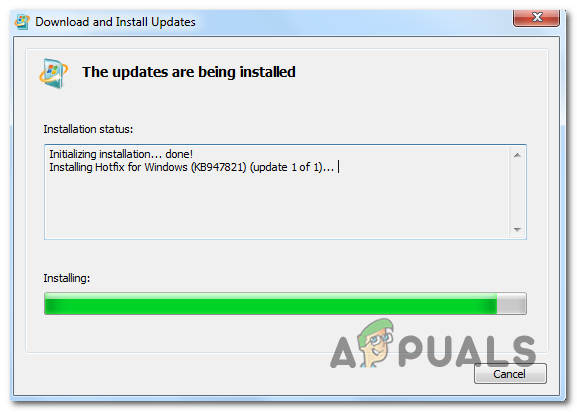
3. Run the System Update Readiness Tool
As it turns out, a lot of Windows 7 users have managed to fix the issue by downloading the latest version of the System Update Readiness Tool. Although this tool is included with almost all Windows installations, it’s likely not the latest version available. Ensuring that you download and use the latest version of the System Update Readiness Tool will allow you to fix the issue swiftly with no additional steps. Here’s a quick guide on downloading & using the latest version of the System Update Readiness Tool: In case the same issue is still occurring, move down to the next potential fix below.
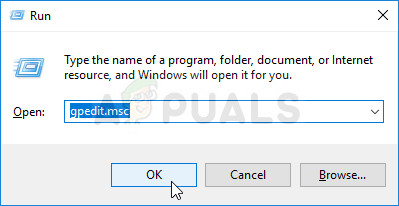
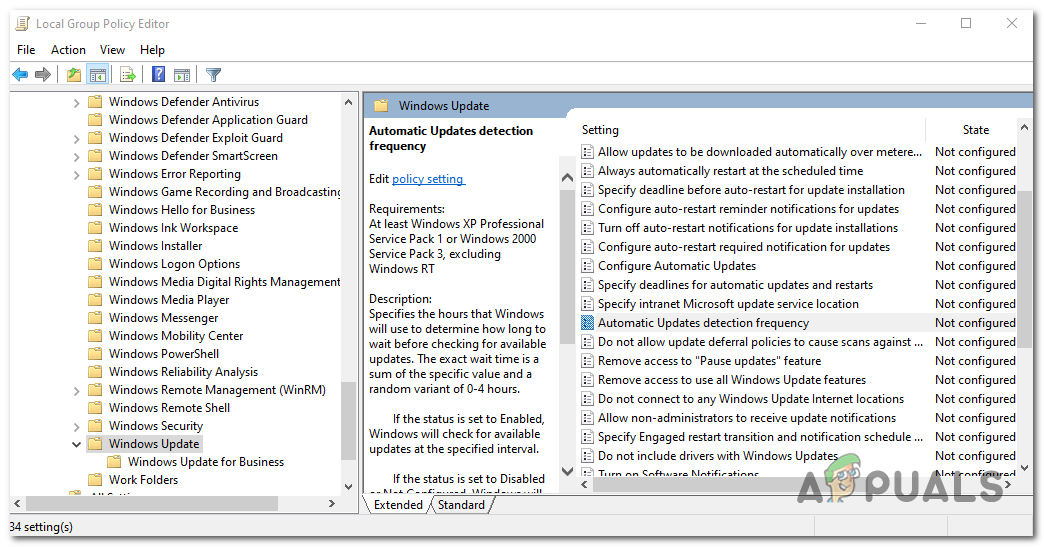
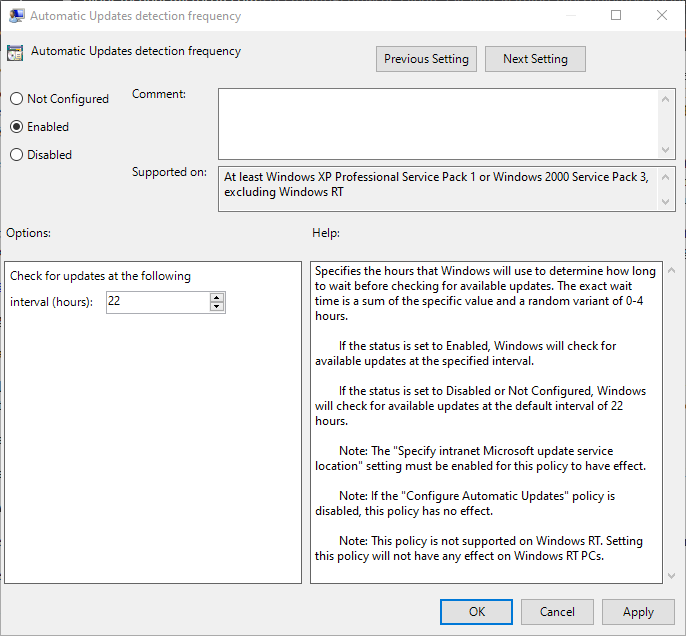
4. Enable the Detection Frequency policy
If you’re encountering this issue on a Windows Server version, it’s very likely that the error 0x80244010 is evidence that a client has exceeded the number of trips allowed to a WSUS server. The error code can be translated to WU_E_PT_EXCEEDED_MAX_SERVER_TRIPS and typically occurs on new machines. To fix this, you will need the Local Group Policy Editor to make a modification to a policy called Automatic Update detection frequency. By enabling this policy, you will force all machines part of the group to use the same specified updating interval. Here’s a quick guide on using the Local Group Policy Editor to modify the Automatic Update detection frequency policy to fix the 80244010 error: Note: Keep in mind that not all Windows versions will have the GPEDIT utility installed by default. If your WSUS component is still triggering the 80244010 error message, move down to the final fix below.
5. Refresh OS components
If none of the methods presented above have allowed you to resolve the issue, it’s very likely that you’re encountering the due to a Windows inconsistency that you can’t resolve conventionally. In this case, the only viable fix is to reset every Windows component in order to ensure that any type of corruption is removed. If it all boils down to this, you have a couple of ways forward:
Clean install – This procedure is the easiest out of the bunch, the major disadvantage is that unless you back up your data in advance, you will lose any personal files including applications, games, and personal media. But as opposed to a clean install, this procedure does not require a compatible installation media.Repair install (in-place upgrade) – This procedure will require you to use a compatible installation media. You will need to get a little technical, but the major advantage is that the operation will only touch the Windows files. This means that all your personal files & settings (including videos, photos, music folder, apps, games, and even some user preferences) will remain untouched.
How to Fix Windows Update “Error Code: Error 0x800706ba”?How to Fix Windows Update Error Code 0x80070437 on Windows 10?How to Fix Windows Update “Error Code: 0x8024401c” on Windows 11?How to Fix Windows Update Error Code 0x80080005 on Windows 10