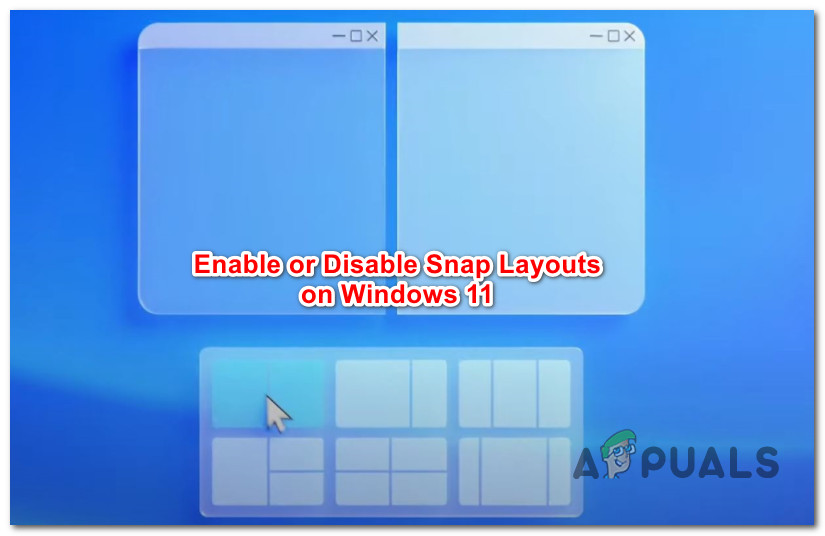
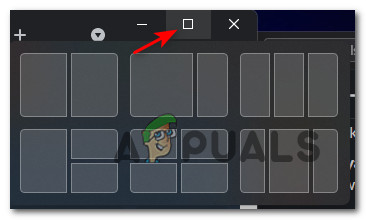
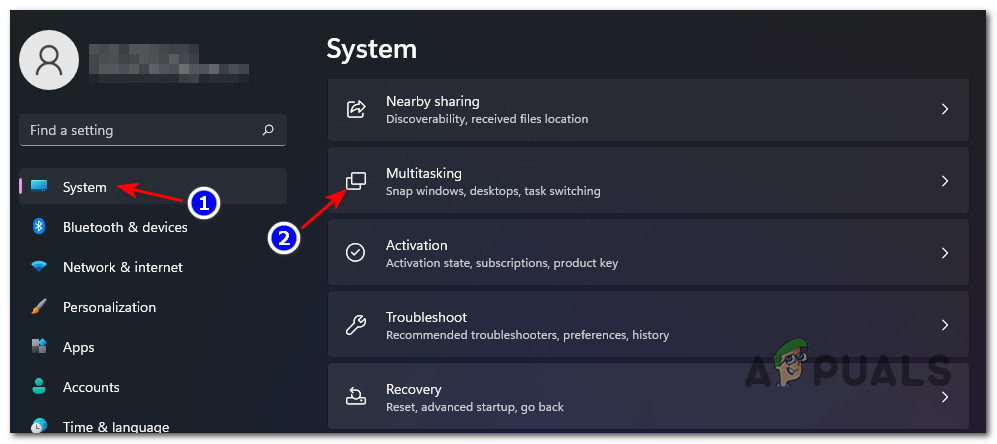
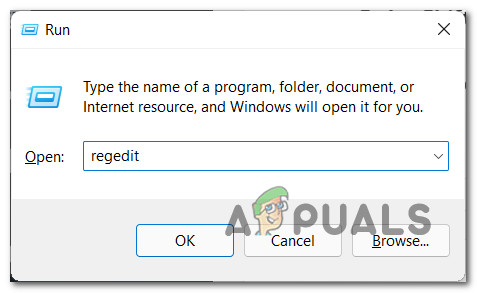
Upon hovering with your mouse over a window’s maximize button on Windows 11, you’ll soon see a selection of available snap layouts that you can choose from. You can click on any zone to snap the window to that particular location. PRO TIP: You can also invoice the snap layout menu for the active window at every given moment by pressing the Windows key + Z key at the same time. After you select a location where you want the window to snap, Windows 11 will offer to assist you in snapping Windows for the rest of the zones, according to the layout that you previously selected. Windows 11 will offer different layout types for different screen types. If you’re using a smaller screen, Windows 11 will most likely suggest a four snap layout. UPDATE: Starting with Windows build 22000.65, the collection of available snap layouts for smaller PCs in portrait mode have been further optimized. You can no also choose to snap 3 apps on top of each other, instead of four (like it was before). Snap Layouts will be enabled by default on Windows 11, but there are a couple of ways that you can use to enable or disable them at your own leisure. You can either do it from the Settings app or by doing some registry modifications. Feel free to follow whichever method you feel more comfortable with. Both of them will ultimately help you enable or disable the snap layout feature on Windows 11.
Enable or Disable the Snap Layouts Feature on Windows 11 via the Settings App
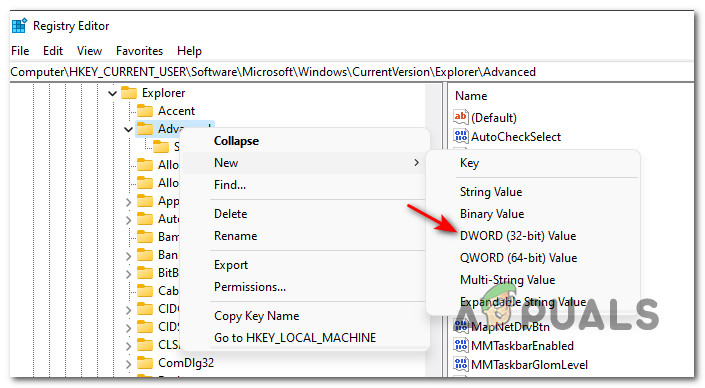
Enable or Disable the Snap Layouts Feature on Windows 11 via Registry Editor
Latest Google Chrome Update Brings Back “Aw, Snap” Error On Windows 10Fix: Unable to Uninstall Snap Camera from WindowsFIX: Aw, Snap! Error on Google ChromeFix: MMC Could not Create the Snap-in Error
