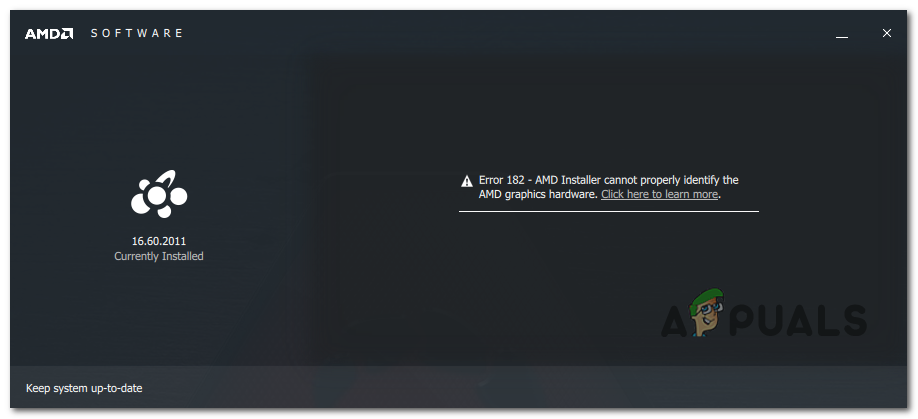
As it turns out, there are several different scenarios that might end up causing the AMD Error 182:
Using the AMD Driver Selector
The AMD Software application contains a series of generic drivers that support a wide variety of graphic products. But there are certain AMD products that are not supported by AMD Software:
Customized AMD Graphics (Custom made for an OEM)Legacy AMD graphics (AMD products that are over 5 years old)Embedded AMD graphics
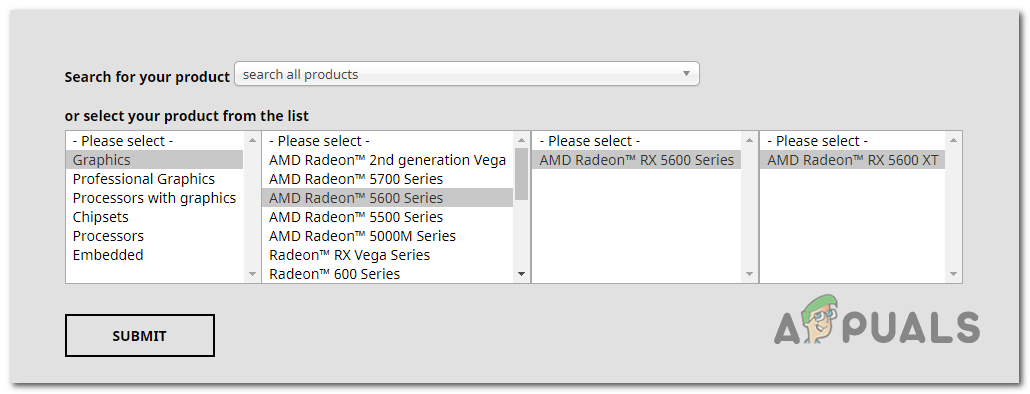
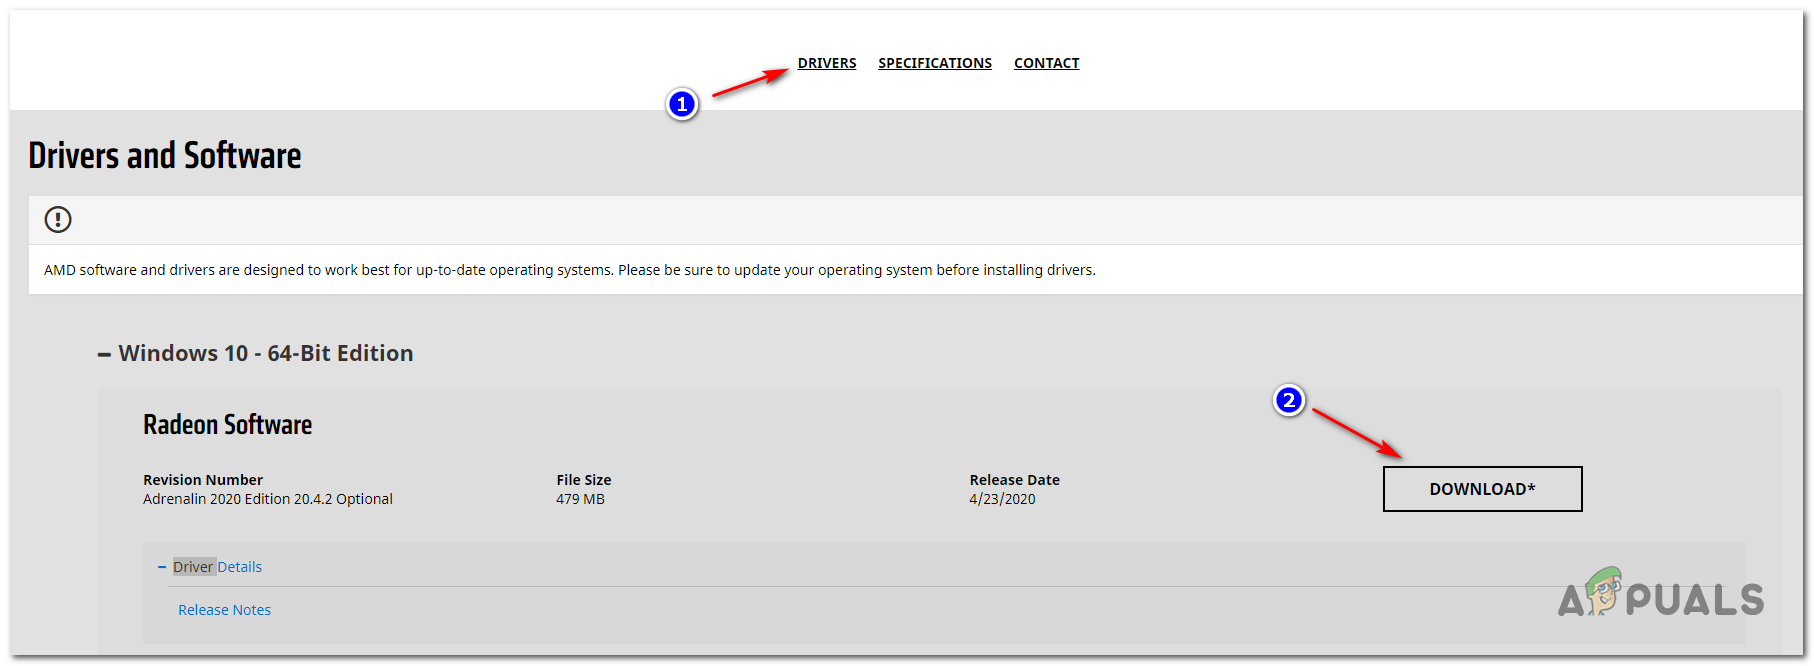
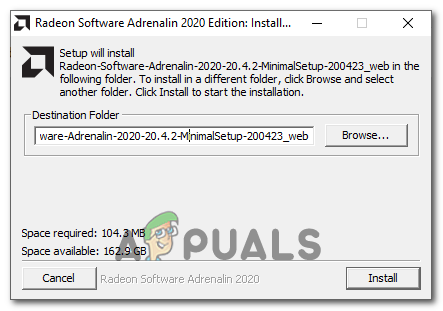
In case your particular graphic card solution falls into one of the categories featured above, it’s very likely that the updating software cannot update your driver because it belongs to an unsupported product group. If this scenario is applicable, your only choice of updating the driver is to use the AMD Driver Selector to locate and download the appropriate driver. Here’s a quick guide on how to use this web tool to download and install the latest driver for your driver: In case this workaround still ended up showing the AMD Error 182 or this scenario was not applicable, move down to the next potential fix below.
Updating Driver via Windows Update (if applicable)
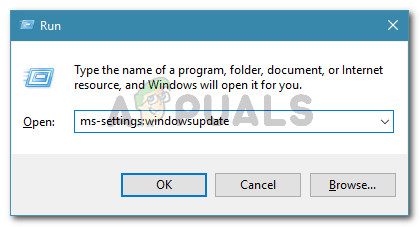
Keep in mind that with AMD, certain APUs (Advanced Processing Units) are not built to be updated conventionally (via Adrenalin or Driver Selector). With some models, graphics driver support is handled exclusively by Windows Update. So if you have a GPU model like this, you will need to update it via Windows update – AMD Software will not be able to update it. Here’s a list with APUs that can only be updated via the Microsoft Windows Update component:
AMD A4/A6/A8-3000 Series APUsAMD E2-3200 APUAMD E2-3000M APUAMD E2-2000 APUAMD E1/E2-1000 Series APUsAMD E-200/300/400 Series APUsAMD C-Series APUsAMD Z-Series APUs
If you have one of the AMD processing units featured above, follow the instructions below to update your AMD graphics driver via Windows Update: In case this method is not applicable, move down to the next potential fix below.
Clean installing GPU driver
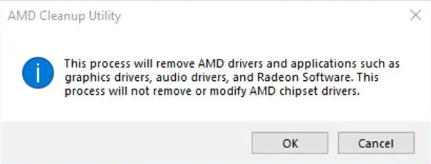
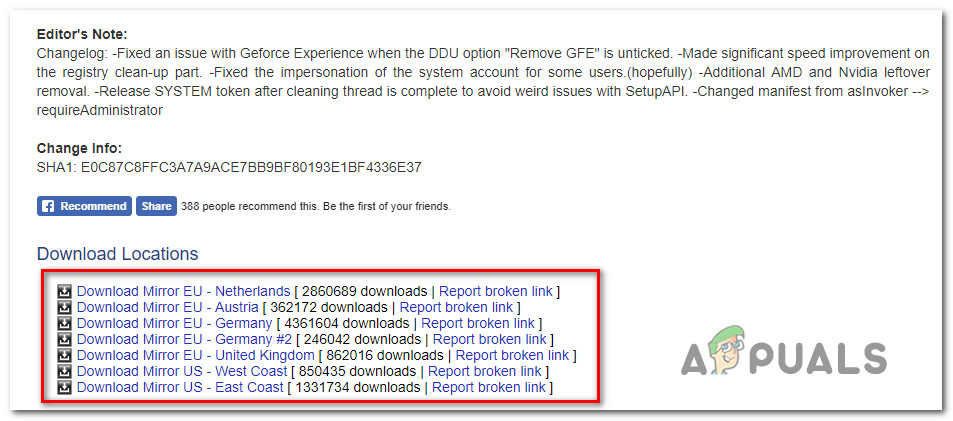
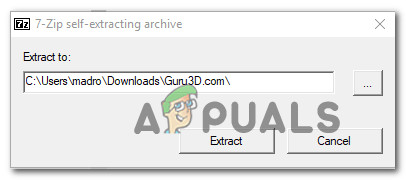
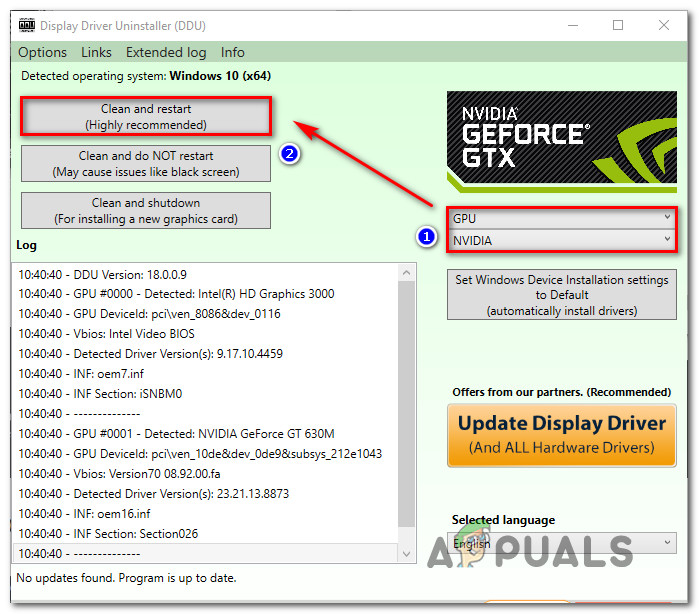
If none of the fixes above have worked for you, it’s likely that you’re dealing with a severe case of corruption among your driver files or dependencies, which makes it impossible for AMD Software to install the new driver version. In this case, the most effective fix that will allow you to get past the AMD Error 182 is to simply do a GPU clean install. This operation involves uninstaller the driver conventionally, deleting the root AMD driver folder and then using a 3rd party powerful GPU driver uninstaller to remove any leftover corrupted files to ensure that the nest installation is done without any remnant files interference. In case you decide to go this route, follow the instructions below: In case you still see the same problem, move down to the next method below.
Disabling the Integrated GPU (if applicable)
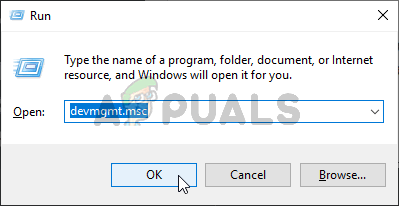
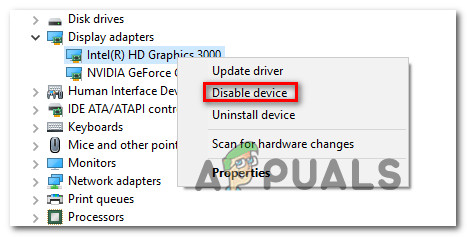
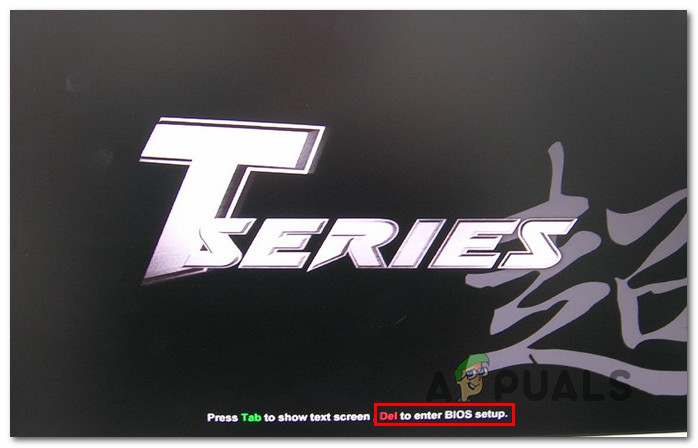
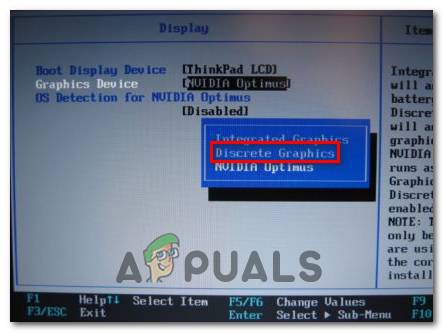
In case the laptop or PC configuration were you encountering the issue on has an integrated ATI Radeon GPU (most likely ATI Radeon 3000), it’s very likely that the AMD Software utility tries to update that instead of the dedicated GPU. If you’re still using an integrated ATI GPU, you will need to disable it first from your BIOS settings in order to fix the AMD Error 182. And since you’re dealing with a legacy integrated-GPU, doing this will also fix a myriad of other potential conflicts and inconsistencies that. In case this scenario is applicable, you need to disable the integrated GPU – Depending on your particular scenario, disabling it via Device Manager might be enough, or you might need to disable it from your BIOS settings. To accommodate both scenarios, we created two guides – The first will show you how to disable the integrated GPU from Device Manager while the second will show you how to do it directly from the BIOS settings
Option 1: Disabling integrated GPU via Device Manager
Option 2: Disabling Integrated GPU via BIOS version
In case the same problem is still occurring, move down to the next potential fix below.
Doing a Repair install / Clean install
If none of the methods above have worked for you, the only potential fix by now is to simply reset every Windows component with a procedure like a clean install or repair install (in-place repair). A repair install will end up refreshing every OS component without touching your personal files – Think of it as a clean install procedure that allows you to keep your apps, games and personal files present on the OS drive. In case you don’t mind any data loss, you can go for the traditional clean install procedure.
How to Fix CSR8510 A10 Driver Error (Driver is Unavailable)How to Fix Printer Driver ‘Error 0x80070705’ (Unknown Printer Driver)Fix: Windows cannot Load the Device Driver for this Hardware because a Previous…Microsoft Windows 10 Gets Better Graphics Driver Evaluations To Improve…
