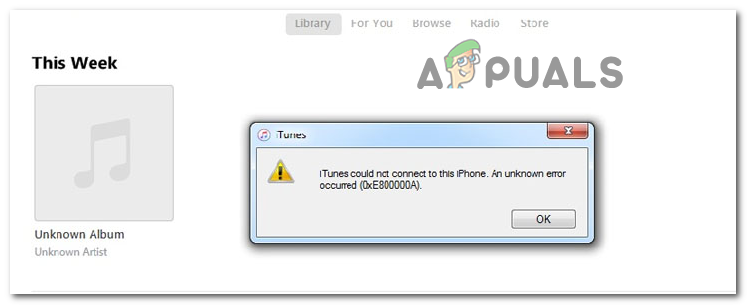
One of the most popular reasons why Windows users are seeing this error is because they are either using an outdated iTunes version or their iTunes version will not update itself automatically because the Windows version is outdated. In this case, you need to start by updating Windows to the latest build available and then update iTunes using the built-in auto-update function. However, the 0xE800000A error can also be caused by some type of corruption rooted in the iTunes folder. In this case, you will need to reinstall the application completely and clear out any temporary data that might still cause this behavior on a new iTunes installation. In case you encounter this error on Windows 7, this problem can appear due to a couple of files located in the Lockdown folder of iTunes. If this scenario is applicable, you can navigate to this location manually and remove the two files to restore the syncing ability of your iTunes installation. But under some circumstances, this problem might also be facilitated by a connectivity issue. A bad cable or a broken USB controller are also potential culprits. To make sure that’s not the case, replace the cable you’re currently using to connect your iOS device and reinstall the USB controller.
Updating Windows to the latest build
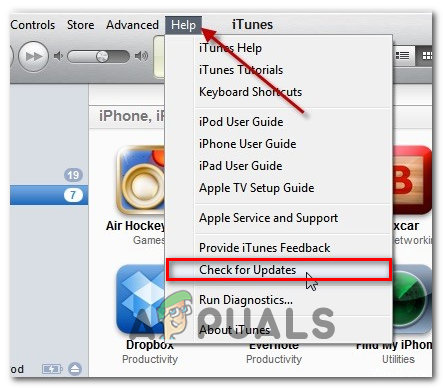
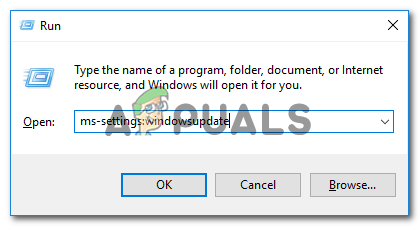
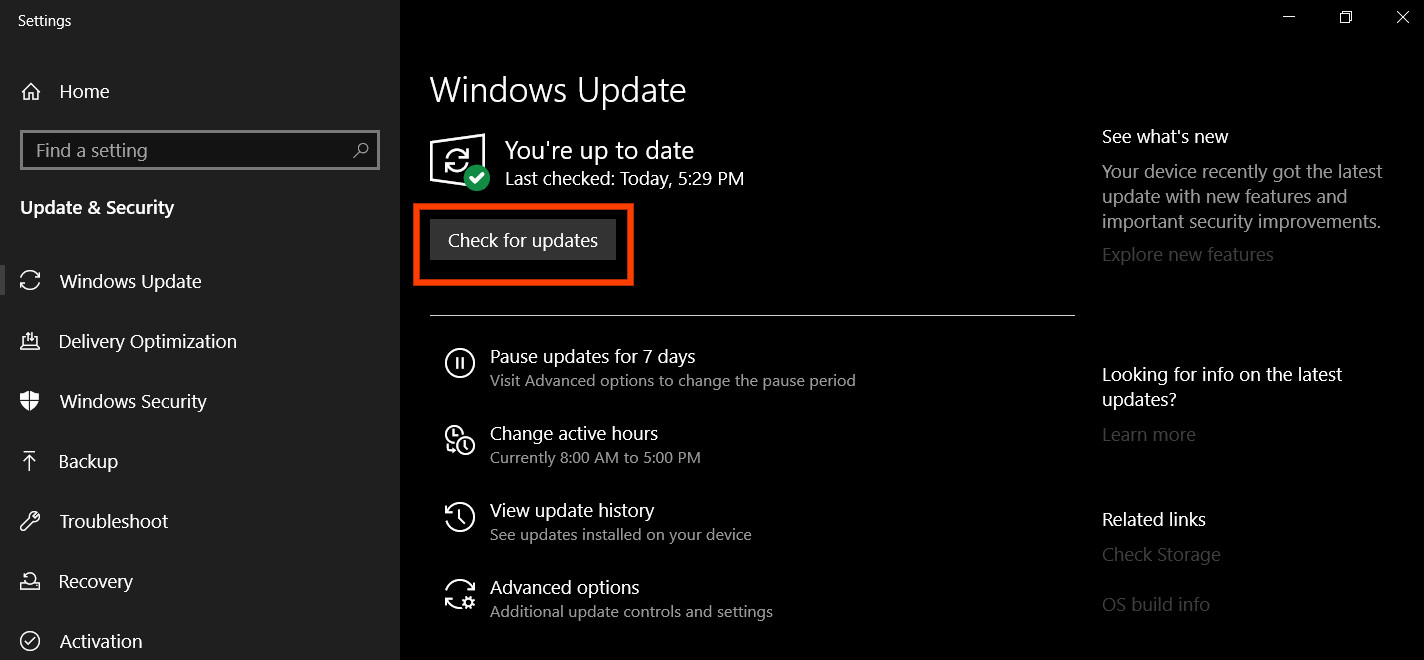
As it turns out, one reason that might contribute to the apparition of this issue is an outdated Windows version that is preventing the iTunes app from auto-updating itself. And while you’re at it, it’s worth a shot to try and force iTunes to update itself. To do this, go to Help and click on Check for Updates. If a new version is available, the updating process will end up overriding some potentially corrupted files that might be causing the 0xE800000A. Keep in mind that on Windows (just like on macOS), the iTunes app will also check on your OS build. If your Windows build is outdated, the application will not update itself and refuse to work in order to prevent security vulnerabilities. If this scenario is applicable and you’re not using the latest build available, follow the instructions below to install every pending update and bring your Windows version to the latest: In case you still end up seeing the 0xE800000A error when you connect your iPad or iPhone device, move down to the next potential fix.
Reinstalling iTunes
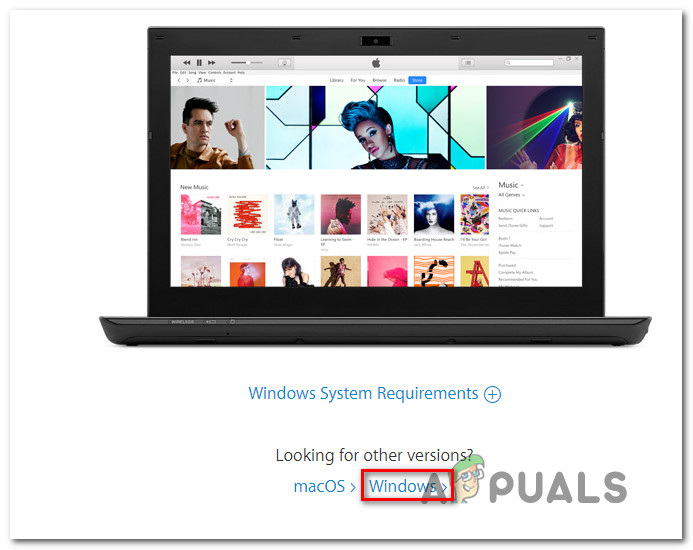
As it turns out, this particular issue can very well be caused by some type of corruption originating from the iTunes folder. In order to fix it, you should be able to fix the issue by reinstalling the iTunes app completely along with any support applications that Apple installs automatically. In most documented instances, this problem seems to occur after Windows Defender or a different 3rd party tool ends up quarantining some items belonging to iTunes or the Bonjour program. But as some affected users have confirmed, you should be able to fix this issue by reinstalling iTunes along with any associated sub-components and then redownloading & installing the latest version. However, keep in mind that the steps of doing so will be different depending on the version of iTunes that you’re using. In case you have the desktop version, you will need to do the uninstallation from the Classic Control Panel interface and if you have the UWP (Universal Windows Platform), the version you’ll need to do it from the Settings app. Important: This operation will not affect your iTunes media library. But regardless of your particular scenarios, we’ve covered both approaches so you know exactly what you have to do. Feel free to follow whichever guide is applicable to your iTunes version.
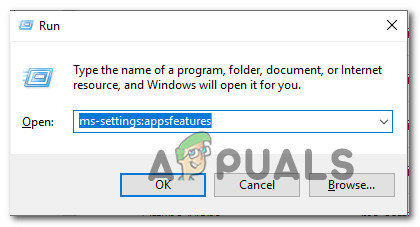
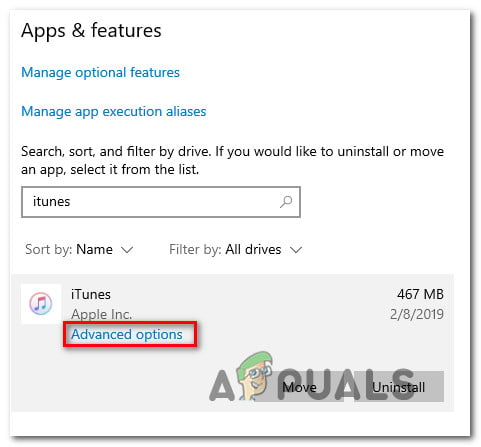
Reinstalling the UWP version of iTunes
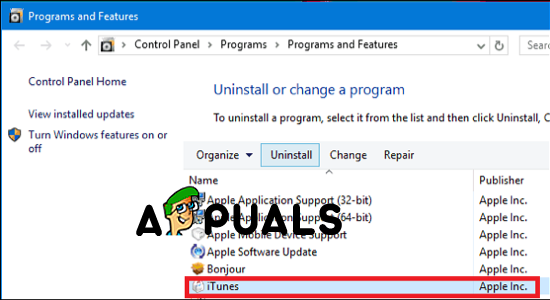
Reinstalling the Desktop version of iTunes
Deleting Apple Lockdown files (Windows 7)
As it turns out, the 0xE800000A error can also be rooted inside in a couple of files that can be found in the Lockdown folder (program data\apple\lockdown). As some affected users have reported, this particular issue can be fixed by navigating to that location manually and deleting every file present in the Lockdown folder. After you do this, you should be able to reconnect your iPhone or iPad device without encountering the same error code. Here’s a short guide that will guide you through the process of uninstalling the problematic files: In case this method didn’t allow you to fix the issue, move down to the next potential fix below.
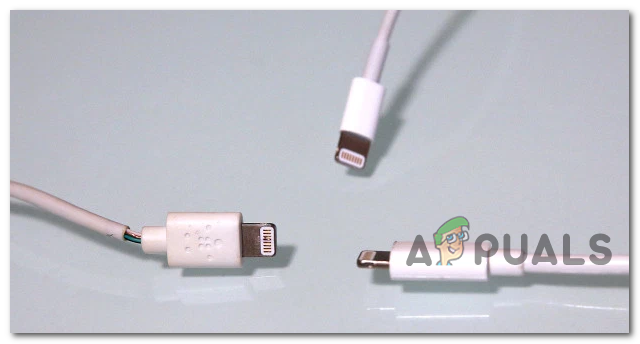
Using a Different USB Cable
If you didn’t try this until you, do some investigations to ensure you’re not actually dealing with a faulty micro-USB cable. You might be dealing with a corroded or non-congruent cable that might end up causing various inconsistency issues including the 0xE800000A error. If you suspect you might be dealing with a faulty cable, replace it and see if you are still encountering the same error message. In case the same problem is still occurring, it’s likely that the problem lies with the USB controller – in this case, move down to the final fix below.
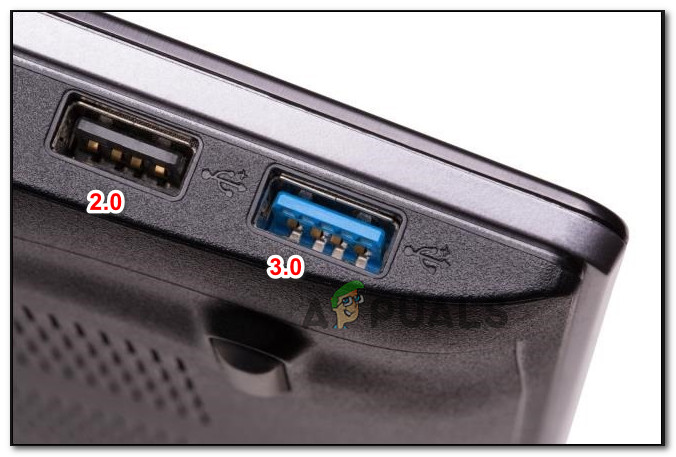
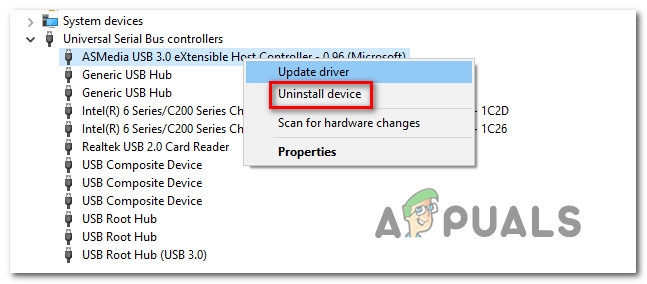
Reinstalling every USB controller
If none of the potential fixes above have allowed you to fix the 0xE800000A error, you might be dealing with a USB port issue that’s preventing the connection to be established between your iOS device and your PC. To verify this theory, try connecting your iOS device to a different port and see if you’re still seeing the same error. If possible go for a USB 3.0 port. However, it’s also possible that the problem occurs due to a software glitch having to do with the Universal Serial Bus (USB) controller. In this case, you will need to uninstall it in order to get the issue fixed. To do this, follow the instructions below:
[FIX] iTunes Error 5105 on Windows (Your Request Cannot Be Processed)How to Fix iTunes Error 9039How to Fix iTunes Error 0xe8000015How to Fix iTunes Unknown Error -54